

Clean the surface thoroughly
Remove dirt, wax, grease and silicone. The surface must be completely dry before positioning.
Align and secure the sticker
Align the sticker, check its position and secure it with suitable tape before removing the backing paper.
Squeegee on evenly
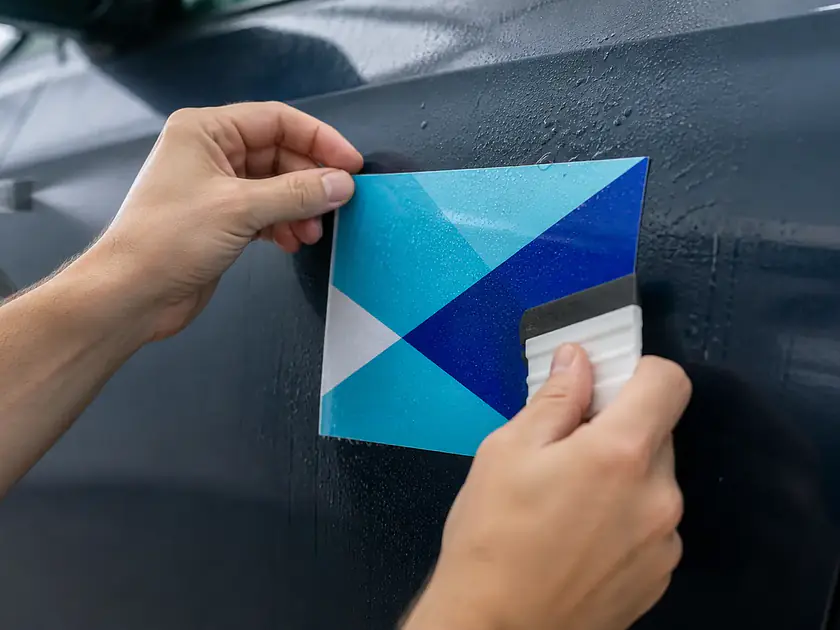
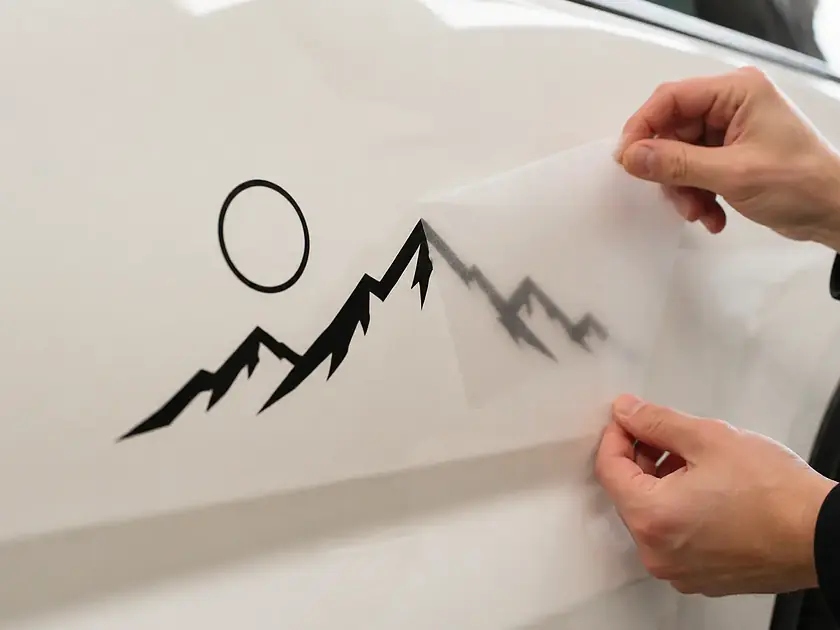
Work from the center outward and press the film on with even movements. Slowly remove the transfer film.
Installation instructions by sticker type
Prepare and align car stickers carefully
Prepare and align car stickers carefully
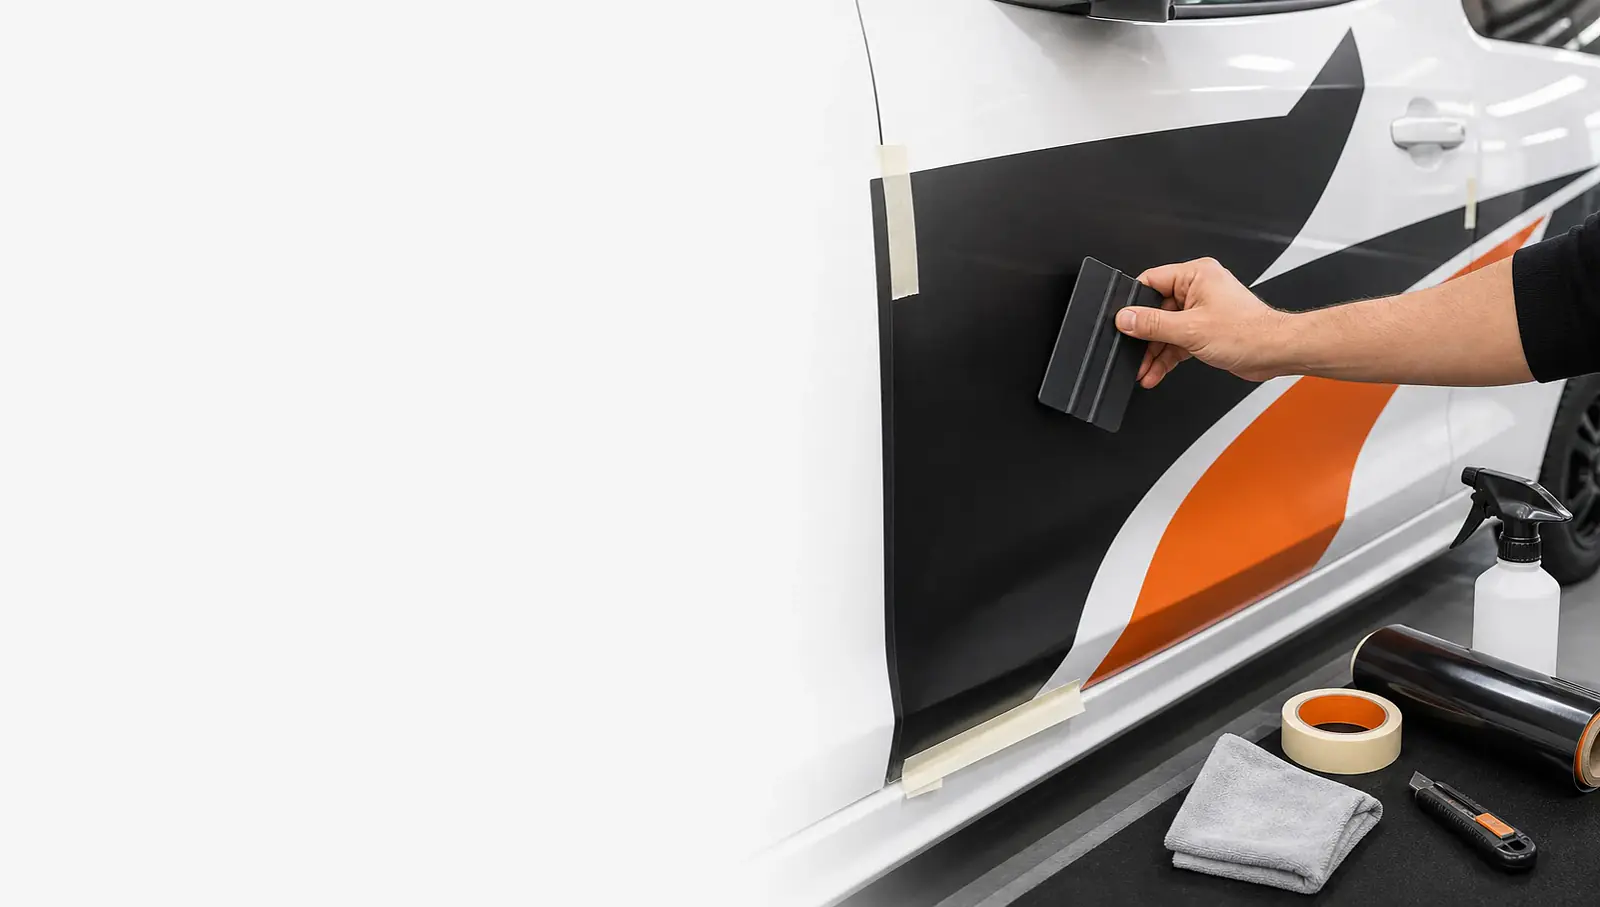
First, read the instructions for the selected product in full. The surface must be sound, clean, dry and free of dust, wax, silicone or oily residue. A standard vehicle wash alone does not necessarily remove all care products that may impair adhesion.
Install in a dry, sheltered environment wherever possible and avoid very hot or very cold surfaces. As a general working range, approximately 10 to 28 °C is recommended; product-specific instructions take priority.
Mark the position before applying the sticker
Mark the position before applying the sticker
First align the sticker while the backing paper is still in place. Measure the distances from edges and body lines at several points. Secure the position with suitable tape so that the design does not shift when the backing paper is removed.
Large designs should not be applied freehand without preparation. If you are unsure or the area is very large, professional installation is the safer choice.
Press adhesive lettering and design stickers on evenly
Press adhesive lettering and design stickers on evenly
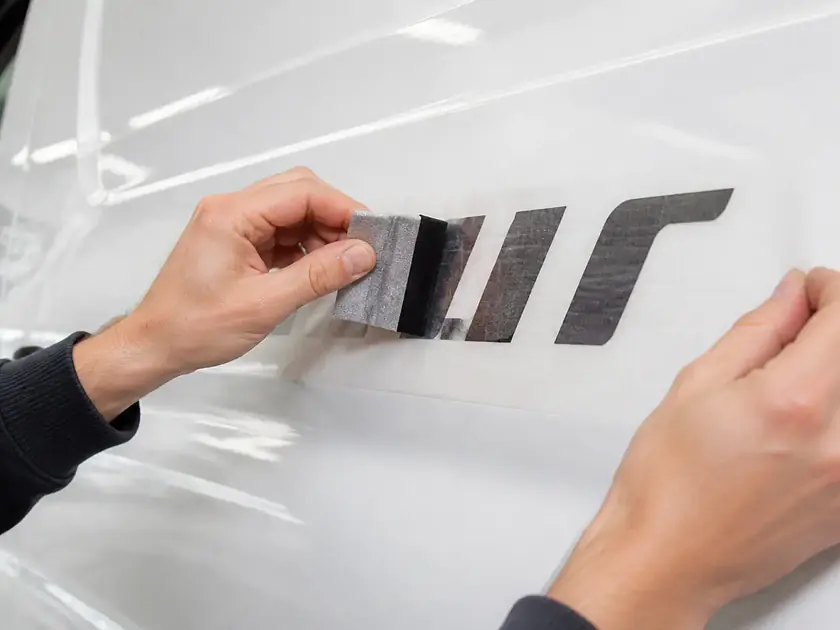
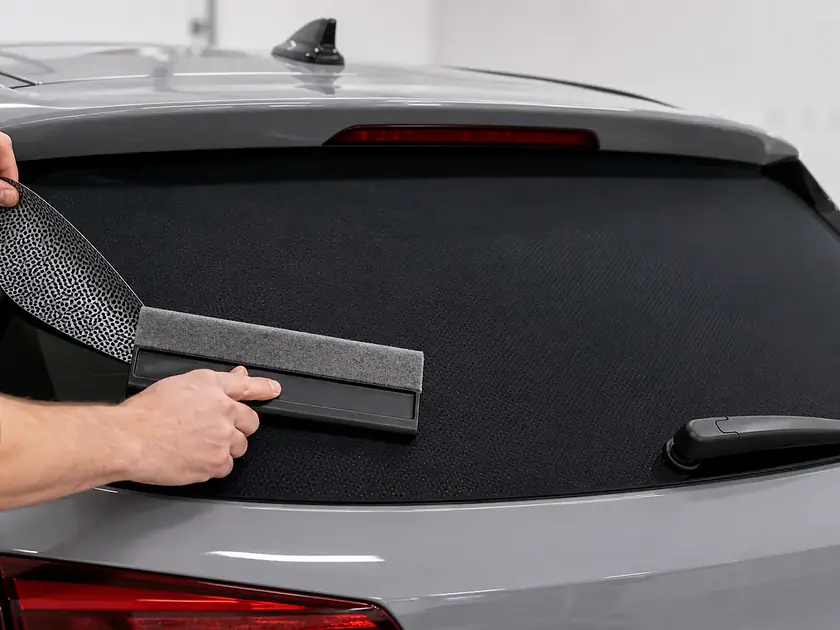
Work step by step and use a squeegee with a soft edge to press the sticker outward from the area that has already adhered. Peel off the backing or transfer material slowly and at a low angle. If an area has not yet fully adhered, lay the material back down and squeegee it again.
Freshly applied stickers need time to build up their final adhesion. Immediately afterward, avoid aggressive cleaning, directing a high-pressure jet at the edges and washing the vehicle too soon. Observe the waiting time specified in the relevant product instructions.
Check after installation
Check after installation
Check edges, fine letters and points particularly carefully. Small air pockets must not be cut open without due care; only follow the method recommended for the product. Magnetic signs require the sign and the paintwork to be cleaned and completely dried regularly.
Keep the order details, measurements and a photo of the final position. This makes it easier to reorder later or replace individual elements.